

Materials Needed:
- Cardstock (various colors and patterns)
- Ruler
- Pencil
- Scissors
- Double-sided tape or glue
- Decorative elements (stickers, ribbons, embellishments)
- Chocolates and small candies
- Small photos or personal notes (optional)
Steps:
1. Make the Base Box:
- Cut the base: Take a 12×12 inch sheet of cardstock. Using a ruler and pencil, mark a 4×4 inch square in the center. Then, mark 4-inch squares on all four sides of the center square, forming a cross shape.
- Score and fold: Score along the lines and fold the cardstock to form the walls of the box. Cut out the four corner squares.
- Decorate the inside: Decorate the inside walls of the box with patterned paper, photos, or personal notes. You can also create small pockets to hold chocolates or messages.
2. Create the Layers:
- Second layer: Take another sheet of cardstock, 10.5×10.5 inches. Repeat the same process, making a 3.5×3.5 inch square in the center and 3.5-inch squares on each side. Score, fold, and cut out the corners.
- Third layer: Use a 9×9 inch cardstock sheet. Mark and cut 3×3 inch squares for the center and sides.
- Decorate: Decorate each layer as desired. Attach chocolates using double-sided tape or glue dots.
3. Make the Lid:
- Cut the lid: Take a 7×7 inch cardstock sheet. Mark a 1.5-inch border around the entire sheet.
- Score and fold: Score along the lines and fold to create the edges of the lid. Cut slits on one side of each corner square, allowing you to fold and attach the corners with tape or glue to form the lid.
- Decorate the lid: Decorate the lid with patterned paper, stickers, ribbons, or any other embellishments.
4. Assemble the Box:
- Layer the base: Place the smallest layer in the center of the middle layer, and the middle layer in the center of the base layer. Attach each layer with a small amount of glue in the center only, so the sides can still fold out.
- Add chocolates: Secure chocolates and candies inside each layer using double-sided tape or glue dots.
- Close the box: Fold up the sides of the base layer, then place the lid on top to close the box.
5. Final Touches:
- Personalize: Add personal messages, small photos, or decorative elements to make the box extra special.
- Extra details: Consider adding small pockets, pop-up elements, or hidden messages for an additional surprise.
Tips:
- Precision is key: Ensure all measurements are accurate for a neat and professional look.
- Use strong adhesive: To keep the box intact, use a strong double-sided tape or glue, especially for the base and lid.
- Get creative: Customize the box with themes or colors that suit the recipient’s taste.
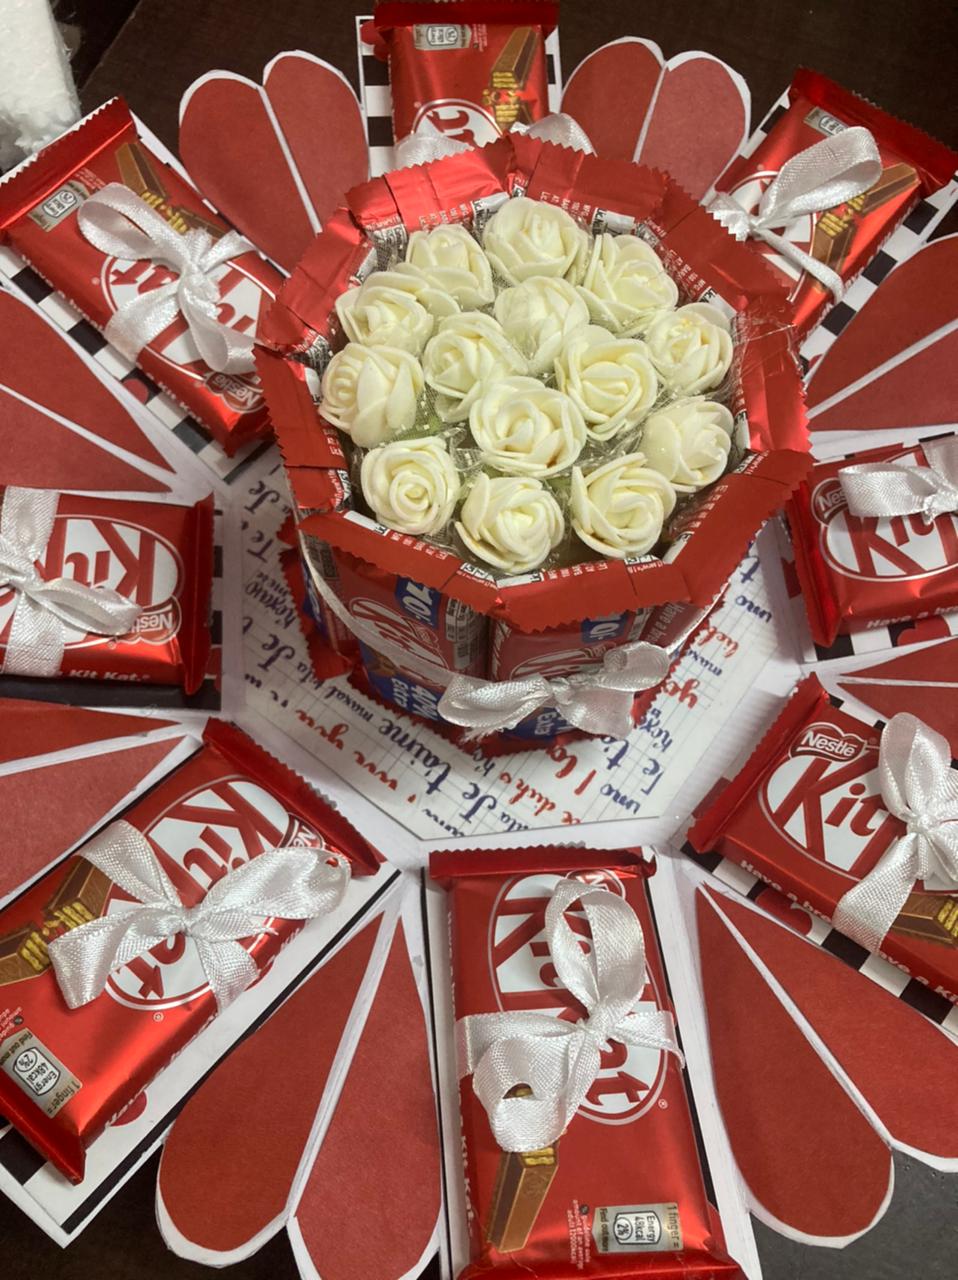
Conclusion:-
A chocolate explosion box is not only a treat but also a heartfelt and personalized gift that shows your effort and creativity. Enjoy the process of making it and delight someone special with this sweet surprise!


